


EvoControl Ventilation - Counterflow
Models: C125T G1, C250T G1
The wiring between the unit and the display is fully assembled.
The wiring harness can be replaced with its own 4-conductor, max 50 metres, min conductor area 0.25 mm2 (pair-winning is recommended).
See the electricity schedule here.
1. push the bezel away from the display by holding the edges of the bezel and pressing lightly on the display.
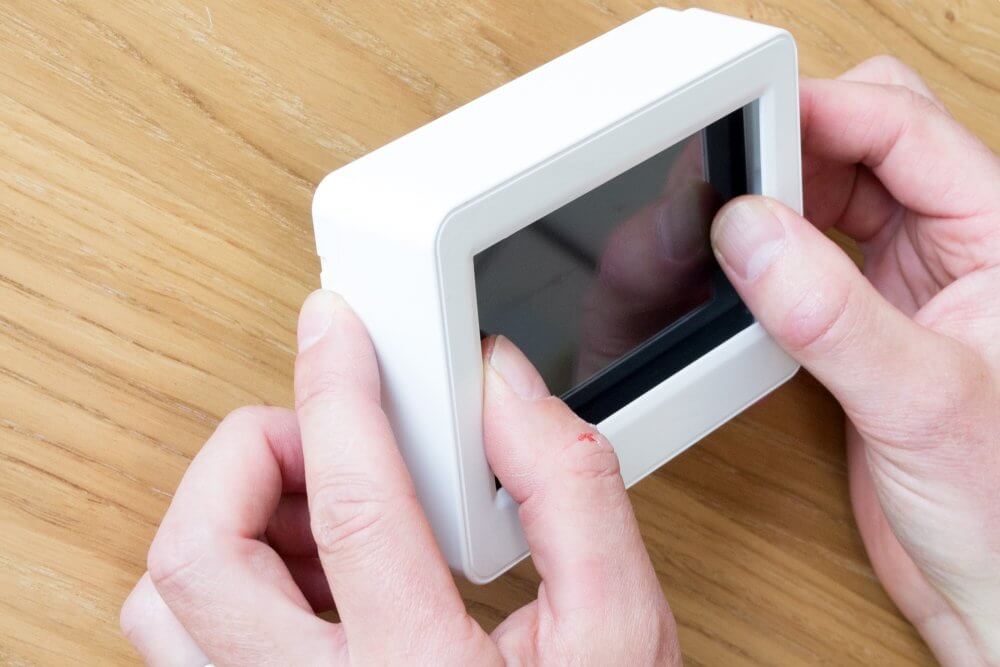
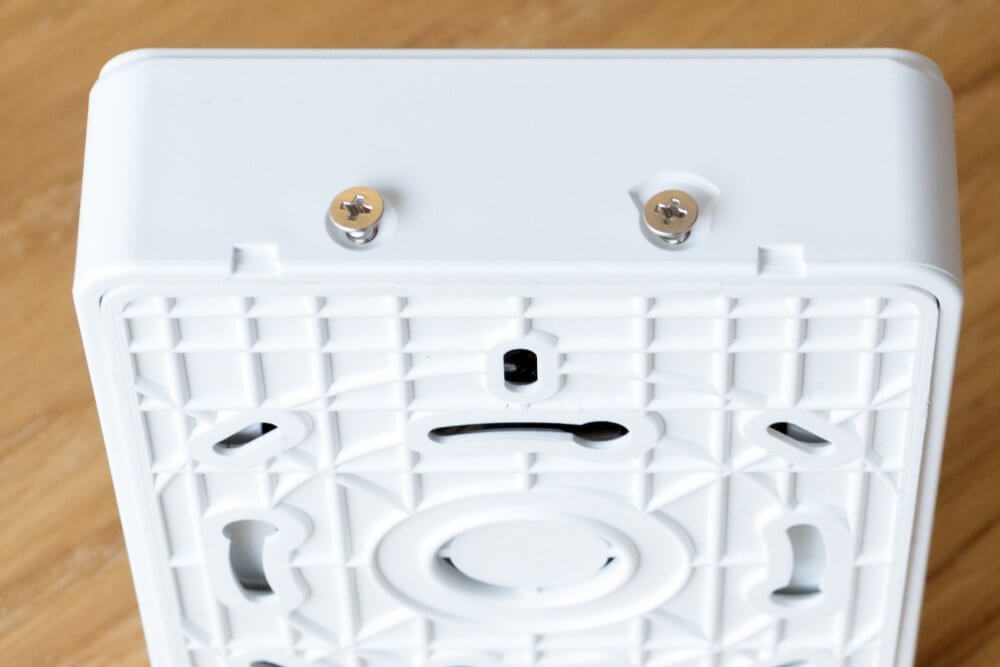
2. unscrew the 4 screws on the sides of the display.
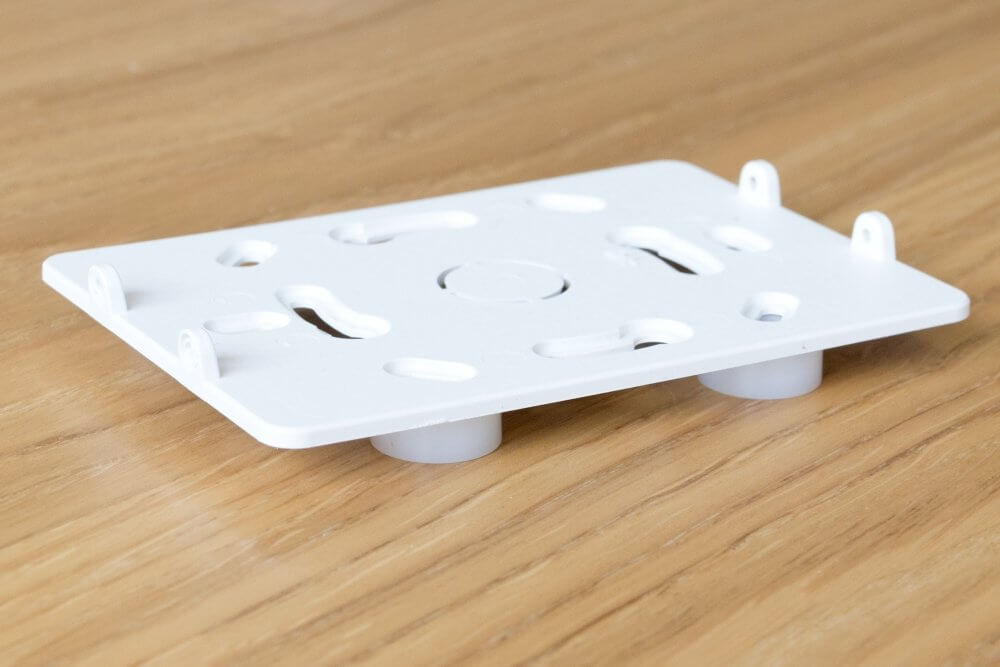
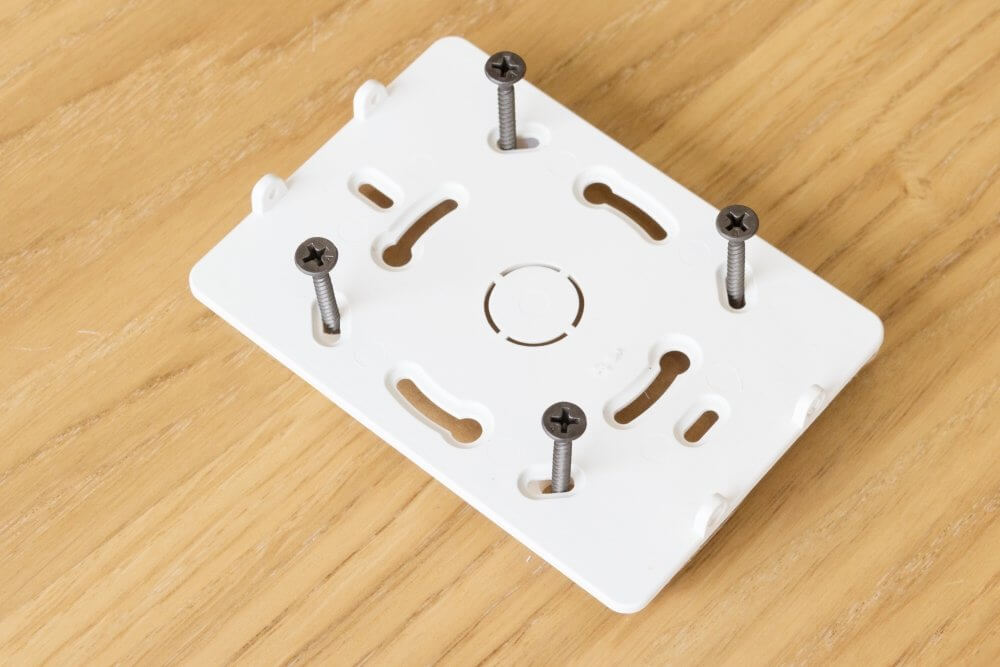
3. Mount the wall plate over any existing wall box or surface-mounted using the supplied plastic spacers and screws.
4. Connect the cable to the terminal on the display.
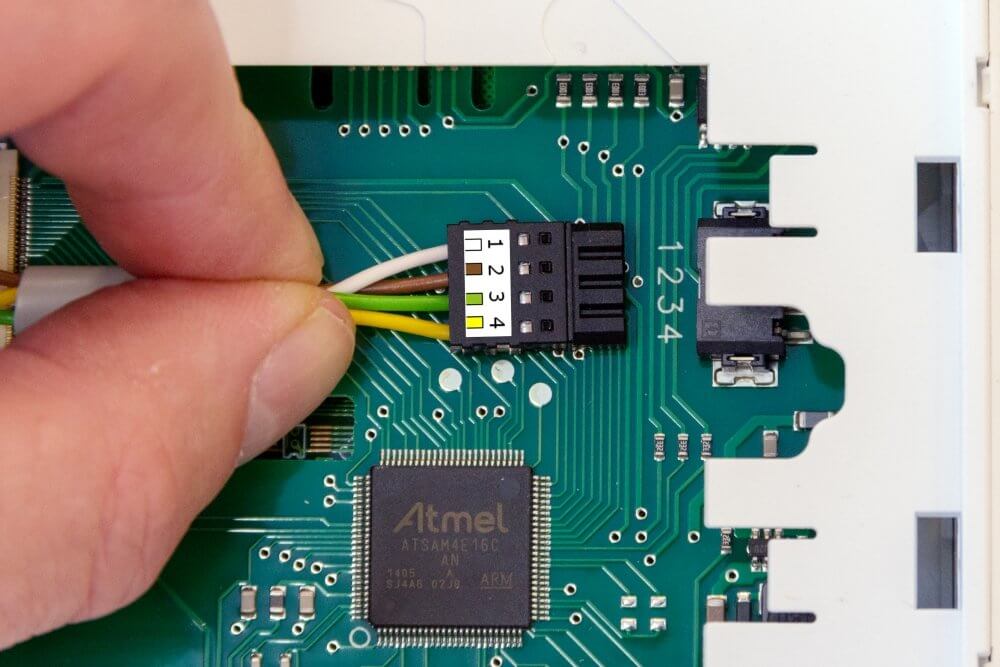
Cables can be released from contact by inserting an object (e.g. small needle) into the slot above the cable.
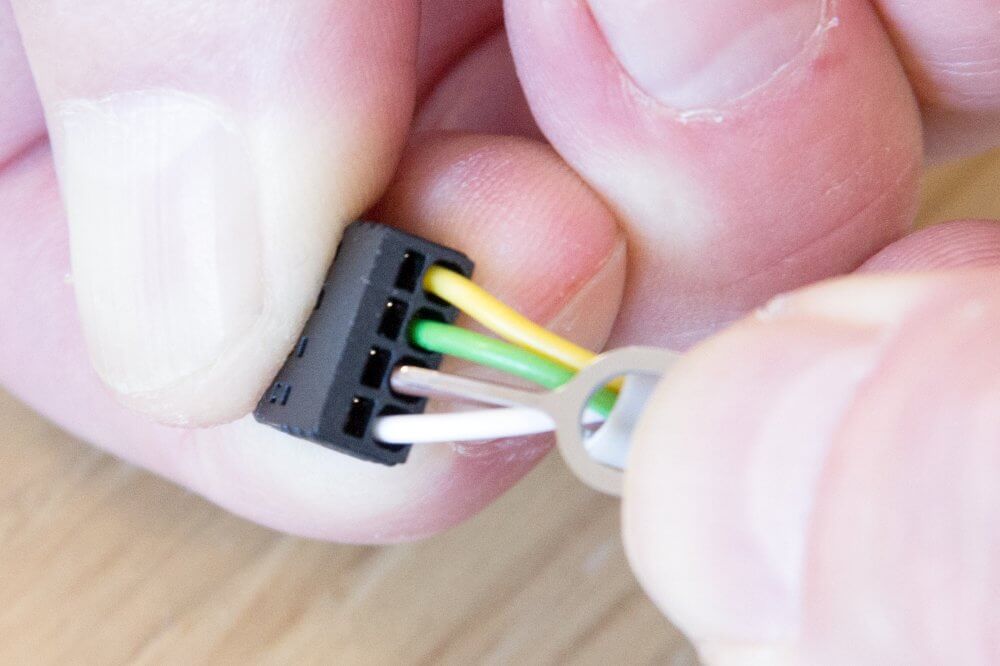
Check that the cables are securely connected and that no strands are sticking out!
Reservation for errors or linguistic discrepancies that may have arisen during printing, translation or assisted text processing. In case of discrepancies between language versions, the original Swedish version applies. See conditions.