
EvoControl Ventilation - Light - MPO
Models: A30T G3 Light, A60T G2 Light
The wiring between the unit and the display is fully assembled.
The wiring harness can be extended with its own 4-conductor, max 25 metres, min conductor area 0.25 mm2 (pair-winning is recommended).
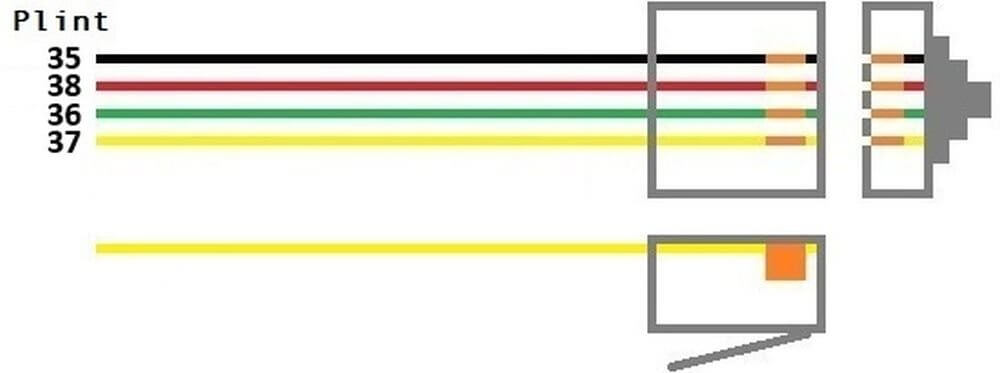
You can See the wiring diagram here.
Installation of the display:
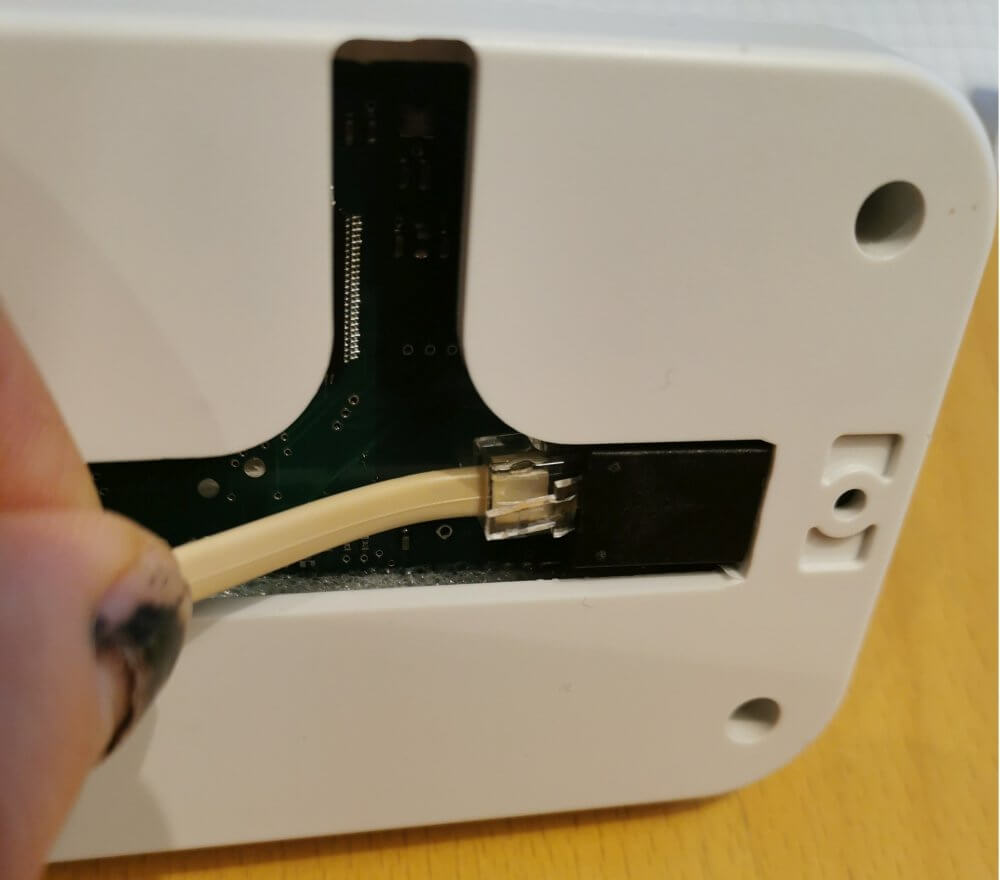
Connect the supplied wiring harness to the connector on the bottom of the control panel.
Open the flaps on the front of the control panel and screw it to the base.
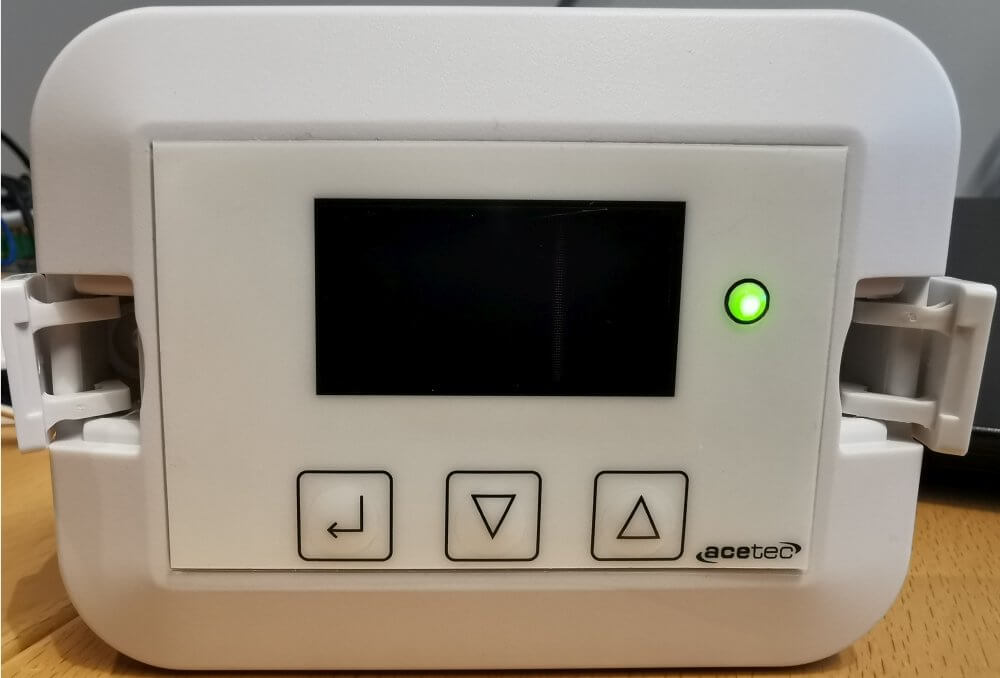
Close the flaps again.
Reservation for errors or linguistic discrepancies that may have arisen during printing, translation or assisted text processing. In case of discrepancies between language versions, the original Swedish version applies. See conditions.
 Svenska Svenska
  English (UK)
 Deutsch
 Dansk
Dansk
 Norsk bokmål
 Íslenska
 Suomi
Suomi
 Eesti
Eesti
 Latviešu valoda
 Lietuvių kalba